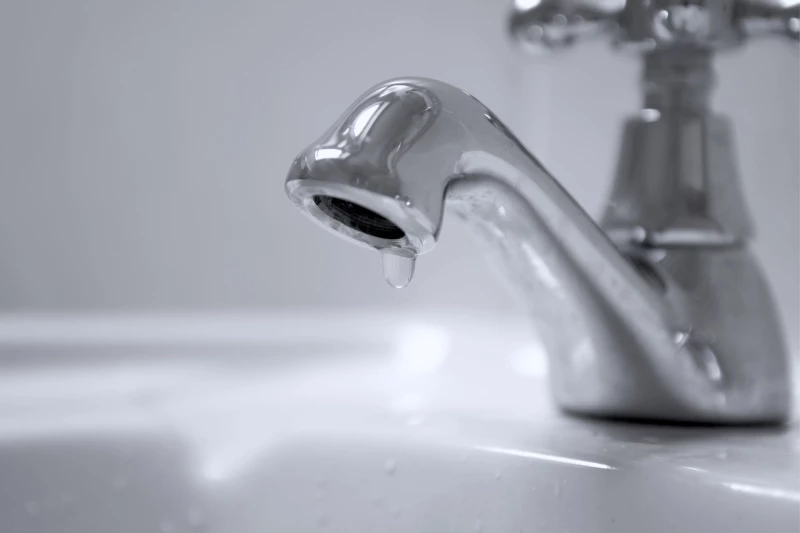
Taps are a fundamental part of every home, but they can wear down with time and cause annoying leaks. If you’ve tried everything to fix a persistent dripping tap in your home to no avail, then it may be time to reseat it. This can prolong the life of your tap without the need for expensive replacements, making it a practical and cost-effective solution for homeowners.
So, how do you reseat a tap, and what exactly does that mean? Here’s everything you need to know about reseating a tap.
Need to speak to a plumber about reseating a tap? Swan’s Professional Plumbing is here! Get in contact with our friendy team today.
What does it mean to reseat a tap?
Reseating a tap involves smoothing the inside surface of the tap, known as the seat. The seat is the part of the tap that presses against the washer to form a watertight seal. Over time, this seat can become rough or corroded, causing water to leak even if the washer has been replaced. Reseating smooths the surface so the washer can create a perfect seal again. The simple process resolves the issue of persisting water leaks caused by an uneven seat for a durable fix.
Why might you need to reseat a tap?
There are a few key reasons why you may need to reseat a tap:
- Persistent water leaks: If you have already replaced the tap washer and the tap still drips, then the problem likely lies with the tap seat.
- Corrosion: Hard water build-up can cause the metal seat to corrode, creating an uneven surface that prevents a good seal.
- Wear and tear: The seat can wear down with frequent use, causing irritating leaks.
You can fix these problems without needing to replace the entire fixture by reseating the tap. However, it’s important to note that there are many causes for a leaking tap. Therefore, reseating a tap might not be the best solution for your situation.
Don’t want to reseat your tap yourself? That’s why we’re here! Our team will work with you to identify the root cause of your dripping tap and reseat it if need be!
Tools needed for reseating a tap
Before you begin reseating your tap, you will have to gather the following tools to use:
- Tap reseating tool
- Adjustable spanner
- Screwdriver
- Cleaning cloth
- Container for excess water
- New washer (optional)
The most important tool for this job is the reseating tool, which resurfaces the valve seat inside the tap. This device helps to grind down the metal seat to make it smooth again.
What Is a tap reseating tool?
A tap reseating tool is a useful device that you use to grind down and smoothen the surface of a tap seat. It is a tool that is essential for fixing leaks that worn and corroded seats cause. There are various types of reseating tools for taps, but they ultimately all serve the same purpose. That purpose is to create a smooth surface so that the washer can form a watertight seal. Regularly using a reseating tool can help to maintain your taps and prevent future leaks, saving you time and money on repairs.
How to use a tap reseating tool
When you use the reseating tool, check that it matches your tap’s thread size. Apply gentle pressure and rotate slowly to avoid over-grinding the seat. Additionally, inspect the tap spindle for any signs of wear, as a damaged spindle may cause further leaks even after reseating. Consider lubricating the tool lightly to ensure smooth operation.
Step-by-step guide on how to reseat a tap
Now that you know why reseating is important and the role a tap reseating tool plays, here’s a step-by-step guide on how to reseat a tap:
Step 1. Turn off the water supply
First, turn off the water supply to the tap that is leaking. You can usually do this by turning off the isolation valve under the sink. If that’s not available, then you will need to turn off the main water supply to your house.
Step 2. Remove the tap handle
Use the (correct) screwdriver to remove the tap’s handle. Look for a small screw. You will normally find it under the cap or handle. Once that screw is out, gently pull the handle off.
Step 3. Unscrew the tap bonnet
The tap bonnet, or cover of the tap, is what holds the tap’s internal components in place. Use your adjustable spanner to unscrew it, making sure to hold onto all parts.
Step 4. Inspect the washer and seat
After removing the tap bonnet, you can now see the washer and the seat. If the washer looks worn, replace it. If the seat looks rough or corroded, that’s where the tap reseating tool comes in handy.
Step 5. Use the tap reseating tool
Insert your tool into the tap body and follow the manufacturer’s instructions. Typically, you will have to twist the tool to grind away the rough edges of the seat. Be careful not to grind too much, just enough to create a smooth surface.
Step 6. Clean the tap
Once you have reseated the tap, use a cloth to clean out any metal shavings or debris inside the tap. Make sure the seat is smooth and free of particles before reassembly.
Step 7. Reassemble the tap
When the seat is nice and smooth and the area is clean, put the tap back together. Replace the washer if necessary, screw the bonnet back on, and attach the handle.
Step 8. Turn the water supply back on
Turn the water supply back on and test your tap. Is it still leaking and/or dripping like it was? If the seat is properly reseated, then hopefully it won’t be!
When should you call a plumber to reseat your tap?
Reseating a tap is a fairly simple task. But, sometimes the problem can be more complicated. If the seat is too damaged to repair, for example, or you don’t know whether reseating the tap will solve your problem, it is best to call a professional plumber.
Our licensed Perth plumbers can reseat tap units and fix taps properly. If you’ve got a plumbing problem, we’re here to help!
Swan’s Professional Plumbing is here to help reseat your tap!
Learning how to reseat a tap involves grinding down the seat inside the tap to get rid of leaks. Using a reseating tool can save you money and extend the life of your tap. However, doing it yourself is not always the best way forward.
Trusting your local Perth plumbers from Swan’s Professional Plumbing ensures that the job is done correctly and efficiently, saving you time and preventing a potential plumbing emergency. With our expertise, you can avoid costly mistakes and enjoy peace of mind knowing your tap is in safe hands. Don’t hesitate to get in contact with Swan’s Professional Plumbing today!


